Step 1 -
 Separate 3 large eggs, you need exactly half a cup of egg whites. You might have more than half a cup of egg whites in 3 eggs, put the excess egg whites and use it cook something else. You must leave the egg whites in room temperature for at least 7 hours before using them. It depends on which country you live in, for example, Toronto's weather is dry, you can leave the egg whites in room temperature for 7 hours or up to 12 hours and they won't turn bad. But lets say you live in Hong Kong, a very humid country, you might have to leave them in the fridge for 30-40 hours, then leave them in room temperature for 1 hour before using them.
 Step 2 -
 Sift 125g almond flour or almond meal and 175g powdered sugar into a large bowl. Use a small spoon to help crushing the almond through the sifter. Almond flour or almond meal are very difficult to find, I can only find almond meal in Freshco (in Toronto). The brand name is called Compliment - ground almonds, it's also Freshco's product. You cannot replace almond flour to normal all-purpose flour, they are completely different.

Step 3 - Pour the egg whites into a large bowl. Using the highest setting of your electric beater and whip the egg whites for 4-6 minutes until firm and shiny. Slowly add in fine granulated white sugar in when the egg whites start to turn white. Then add in 2-3 drops of gel paste food colouring. Gel paste food colouring are also hard to find, you could use liquid food colouring but that might give the egg whites too much moisture and might affect the results. So if you're using liquid food colouring, I recommend you to let your egg whites 3-4 hours more. To tell if the whipped egg whites are ready, turn the bowl upside down for 2 seconds, if it doesn't move at all, it's readied. If you're doing the "epic test", don't blame me if you fail :P
 Step 4 -
 Pour the first 1/3 of the dry ingredients into the wet mixture and use a spatula to fold in the dry ingredients. You can ONLY use the folding technique to incorporate it, do not use any other technique. By folding it will produce the least amount of air to the batter, you don't want any air in your Macarons, because they will crack while baking and they will look horrible. Once the first 1/3 of the dry ingredients are just mixed, pour in the second 1/3 and so on. Make sure you do not over mix.
 Step 5 -
 Transfer all the batter to a large pastry bag or piping bag with a 1/2 inch plain round tip. Make sure you use a clip to clip the bottom part of the pastry bag so the batter won't leak out while preparing.
Step 6 - Lay the sample sheet and parchment paper on a baking sheet and start piping you Macarons.
 Step 7 -
 Let your Macarons sit in room temperature for 1-2 hours. Until the surface of your Macarons are slightly hardened and it's not sticky. Gently touch the surface with your finger to test them.
 Step 8 -
 Put them into a preheated 300°C oven for 10-14 minutes. After the first 4-5 minutes, open the oven and leave a gap for one minute to let the steam out. Every oven is different, so you have to play around with it a couple times to practice, some might need 325°C, some might need to take longer etc. Just one thing you have to remember, making Macarons is seriously the hardest thing to counter. The weather and temperature could affect the results. Don't expect you will success for the first try.
 Step 9 -
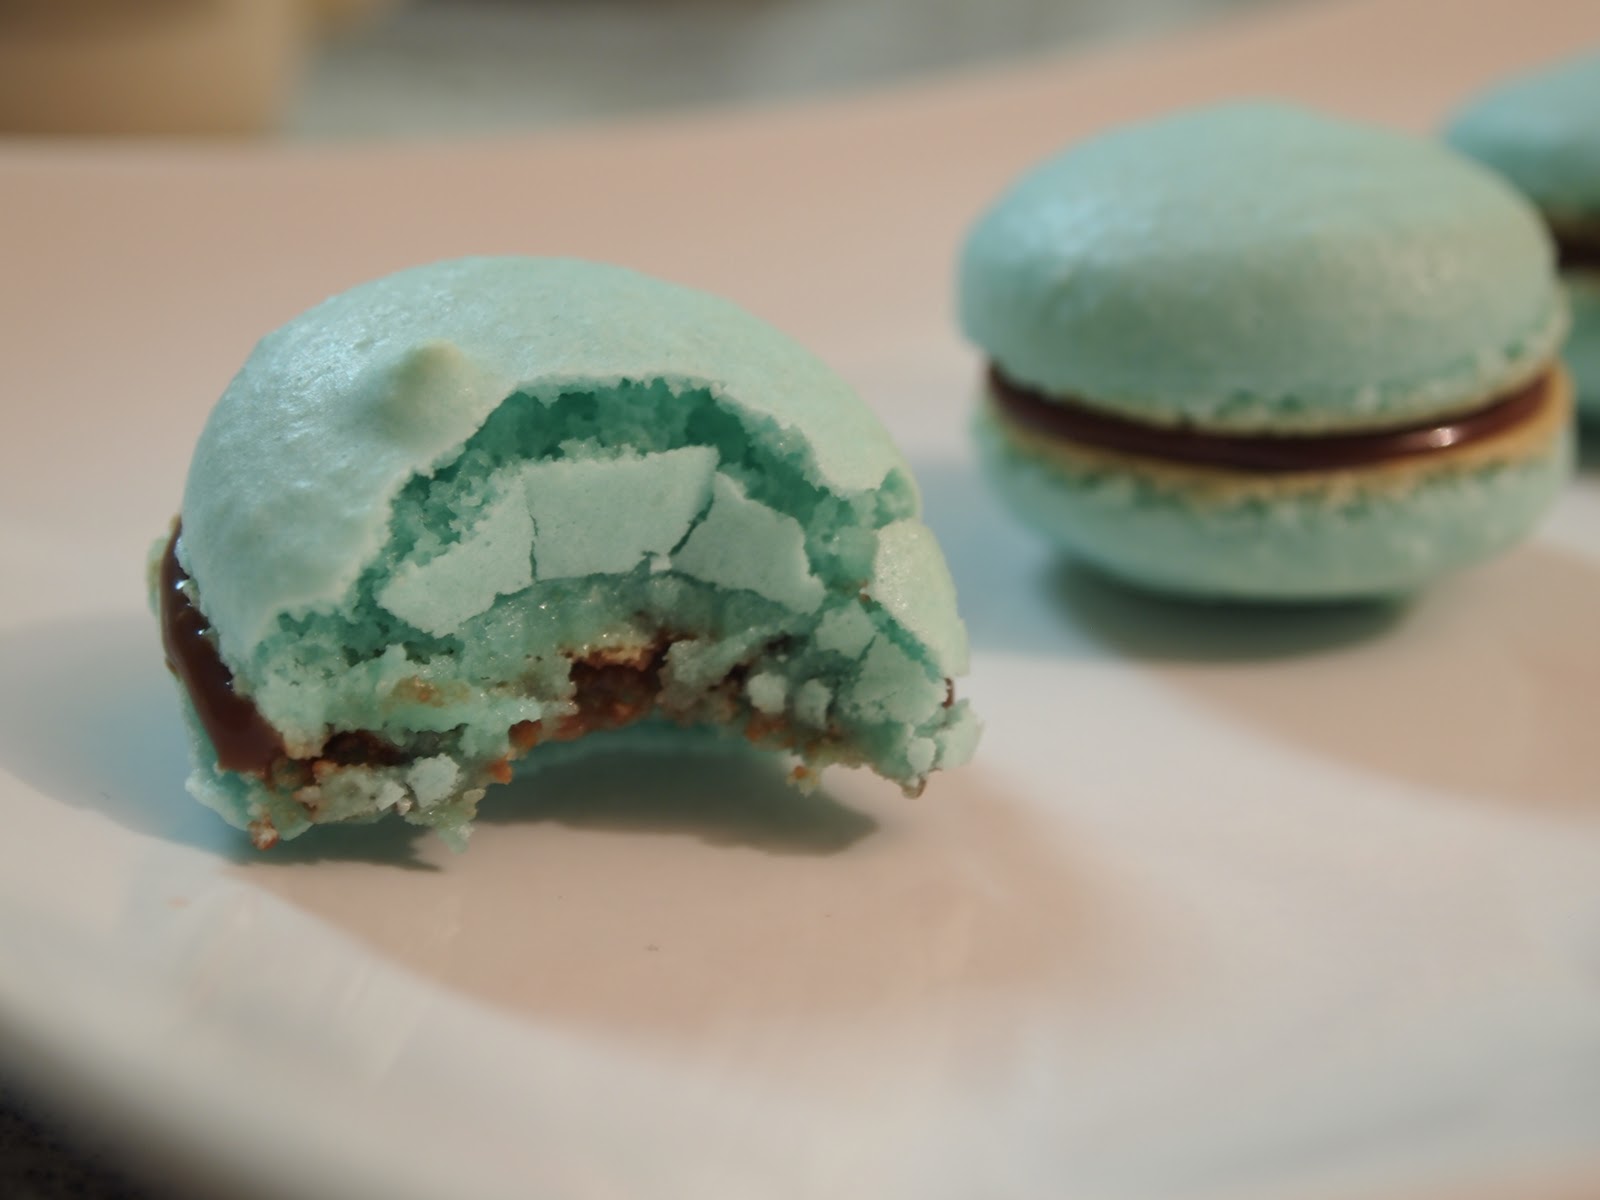
 When they're done, remove the parchment paper with the hot Macarons from the baking sheet, this will stop cooking the bottom of the Macarons. Transfer them to a cooling rack and don't touch your Macarons. When they're cooled completely, remove them from the parchment paper and start piping your filling and sandwich your Macarons. I'll upload another video on how to make Chestnut Butter Cream filling very soon, so stay tuned. Enjoy:)
Tips & Techniques
a) You must leave the egg whites in room temperature for at least 7 hours before using them. Your Macarons will not rise if the humidity level is too high. So for the entire recipe, you basically don't want any moisture.
b) Try to use a hard plastic bowl to whip the egg whites. I've tried to use glass or metal bowl, the egg whites turn out weird because the bowl was too cold. You want something that's not a good conductor.
c) If the almond flour or almond meal that's you're using doesn't sift through your sifter, use a food processor to make them finer. Be very careful not to over blend, because oil might be produced.
d) You must use a very accurate food weight to measure everything in this recipe.
e) Every oven is different. In my case, I have to put my baking sheet towards the outside, not even in the center of the oven.
f) Use 2 layers of parchment paper can help preventing the bottom part of your Macaron shell from burning.
g) Don't expect you will success for your first try. Remember, making Macarons really depends on the weather and how long you let your macarons and egg whites sit. You have to practice a lot of times to make good Macarons.
Ingredients
125g almond flour/ almond meal/ ground almond
175g powdered sugar/ icing sugar
1/2 cup aged overnight egg whites
75g white granulated sugar
2-3 drops gel paste food colouring
(or 2 drops liquid food colouring)


 Step 2 - In a large sauce pan, with a tablespoon of olive oil, sweat the celery and onions on low heat for 7-9 minutes. You want them to be completely softened but you don't want them to brown. Add in freshly ground pepper, salt, vinegar(optional), sugar, cayenne pepper and dried herbs.
 Step 3 - Once they're completely softened, add in minced garlic and cook it for a minute or two. **(In fact, you should add in tomato paste and cook for another 2 minutes after this step, I was rushing because I had to go out for a dinner for CNY, so I forgot... shame....)
  Step 4 - Pour in 2 cans of crushed plum tomatoes,1 cup of water and chopped fresh Italian parsley. Turn the heat to medium or medium high and bring it to a simmer.
  Step 5 - Once it comes to a simmer, turn the heat back to low and let it simmer for 1.5 hour covered. Stir continuously to prevent the bottom from sticking. If the sauce gets too thick, add another splash of water and continue cooking.
 Step 6 - After 1.5 hour, continue cooking and reduce the sauce uncovered for about 15-20 minutes. Add in tomato paste(if you did it in step 3, you can't just leave it, but if you think your sauce needs more colour, you can adjust by yourself. Why? Cause u're the boss of your sauce:P).